How To Draw Realistic Ink Florals Using Procreate - Step By Step Video Tutorial
Today i'm showing you exactly how I draw my signature ink florals in Procreate that are usually drawn by hand using fine liners. This digital method achieves results that look pretty natural and realistic and it's probably one of my most requested tutorials.
First, you'll need to have an iPad and an Apple Pencil with Procreate installed. Once you have everything set up, we can get started!
Step 1: Choose your brush
The first step is to choose the right brush for your ink florals. I recommend using a brush that mimics a fine liner or pen. This will give your ink florals a realistic look. I use the Dry Ink brush, which is a standard brush that comes with Procreate.
Step 2: Sketch the outline
Next I’ll show you step by step how to sketch the outline of your ink florals. We will start with the basic shapes and lines that make up the design. Don't worry about adding too many details at this stage.
Step 3: Add details
Once we have the outline, it's time to add the details. This is where you can really make your ink florals come to life. Add depth and dimension by varying the line weight and adding shading.
Don't forget to share your outcomes on Instagram using #felicityandinkteaches and tag me @FelicityandInk.
IF YOU ENJOYED THIS TUTORIAL…
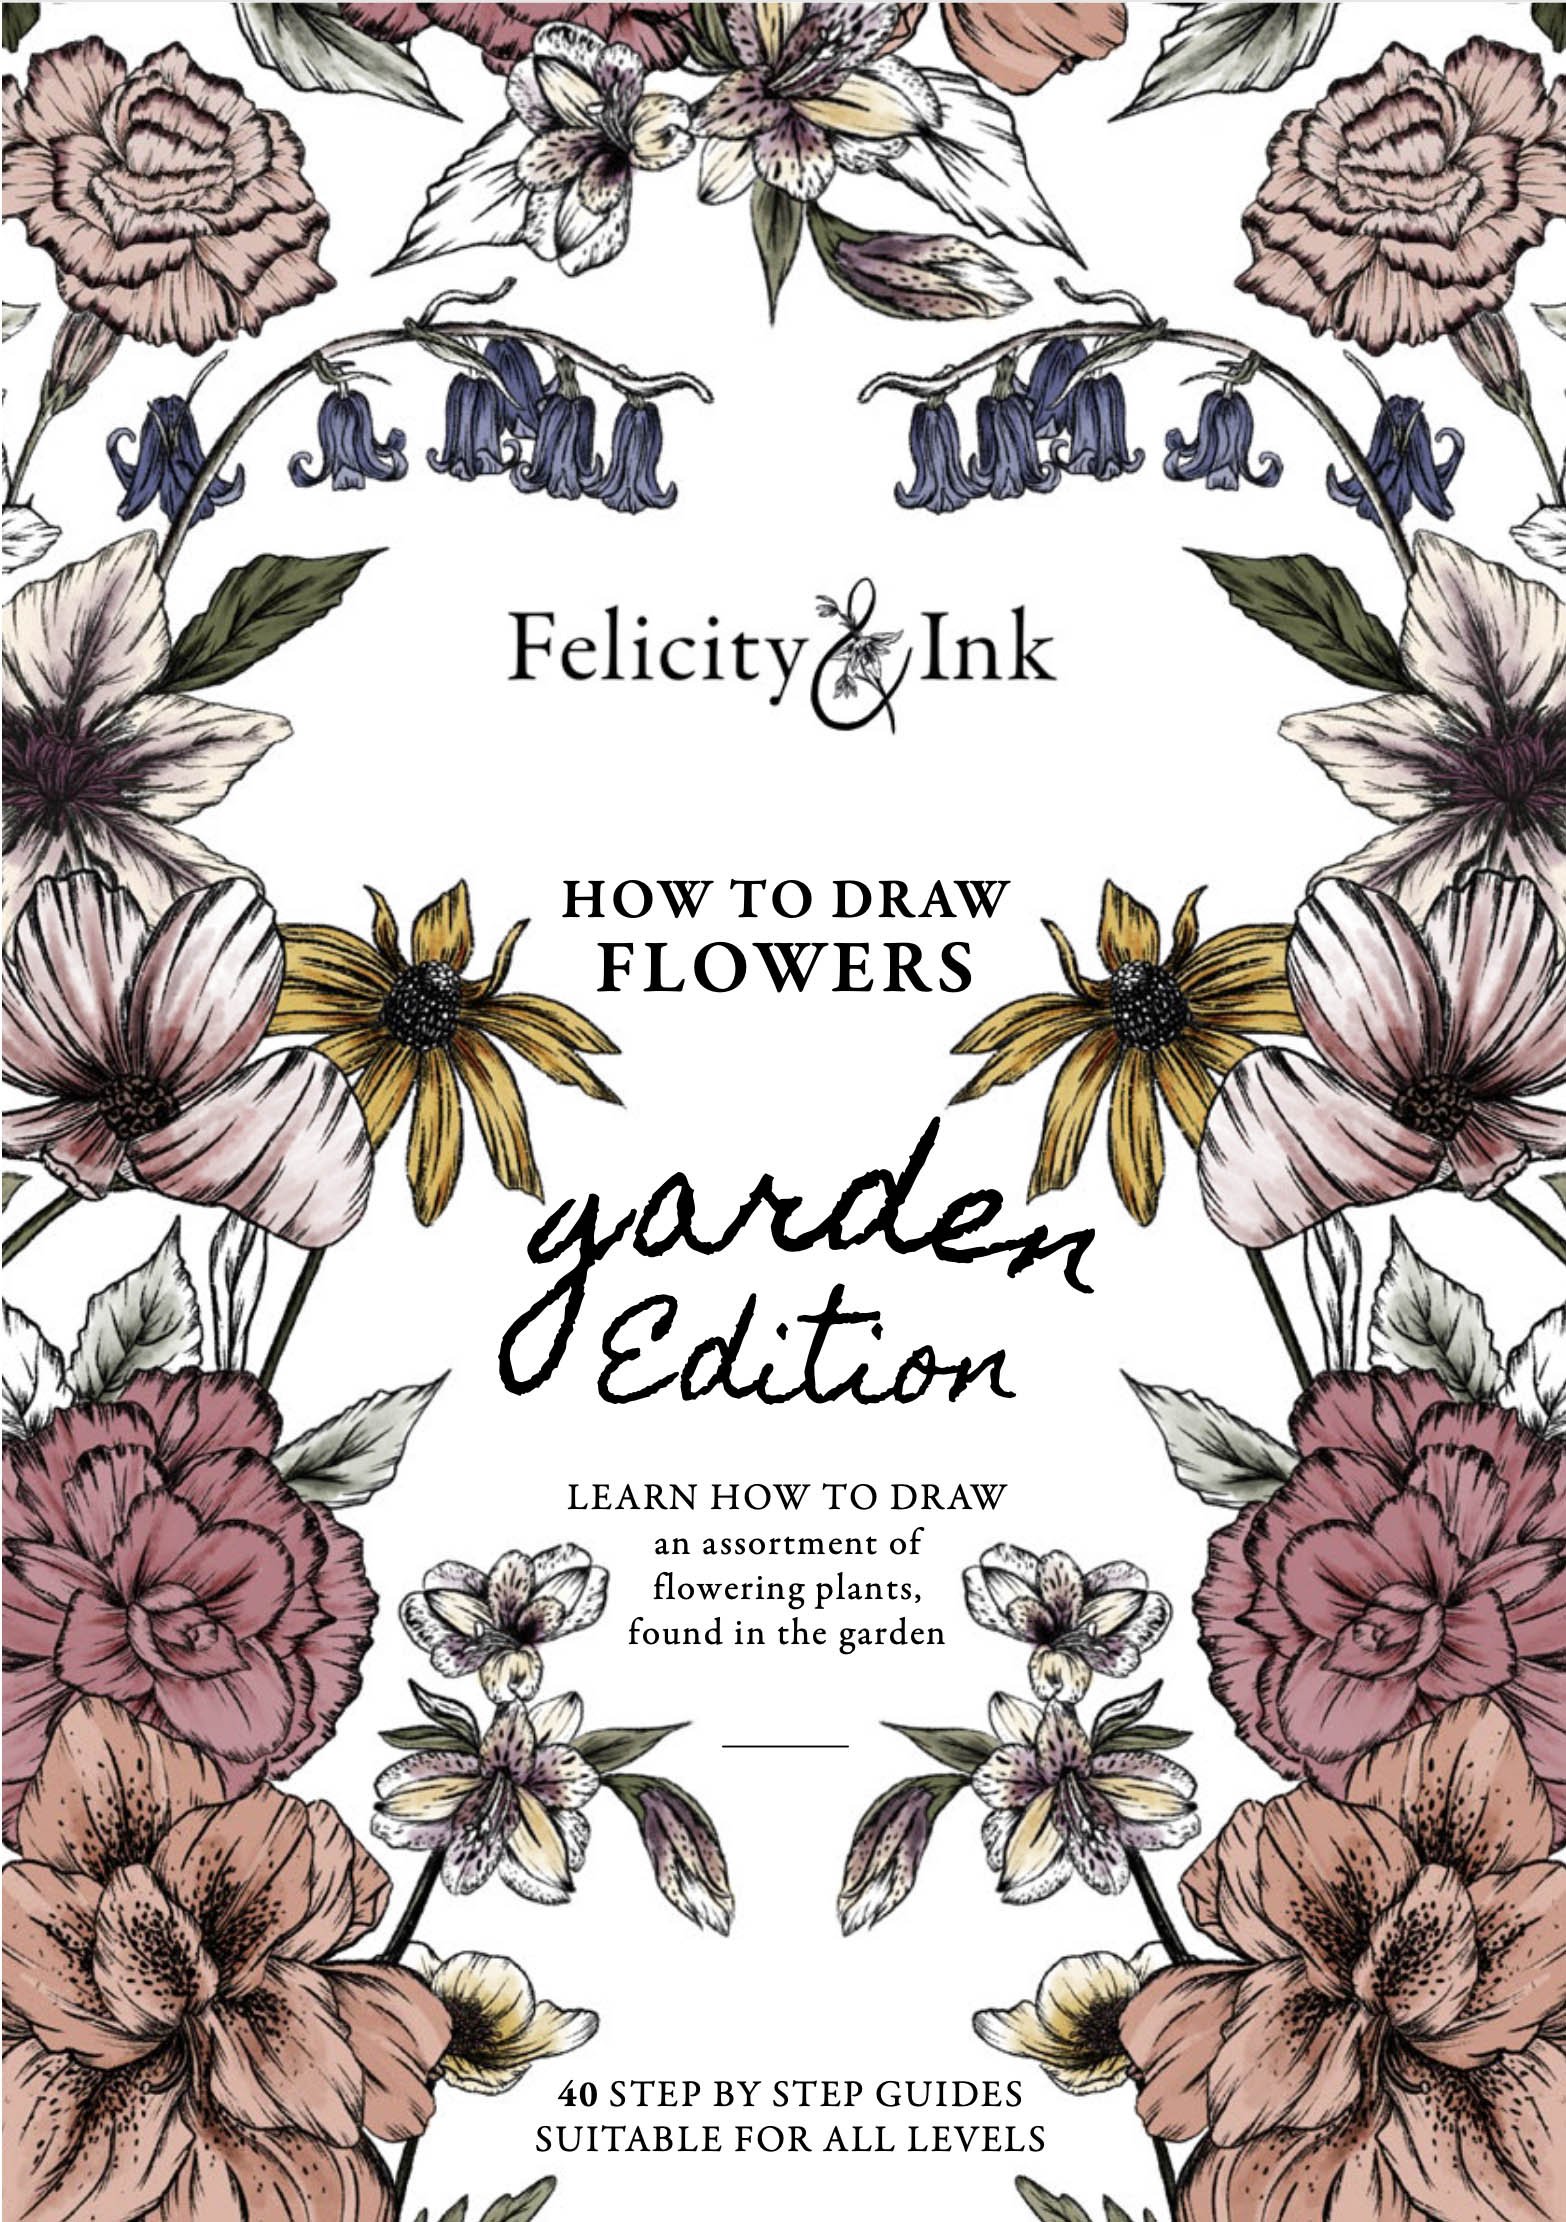
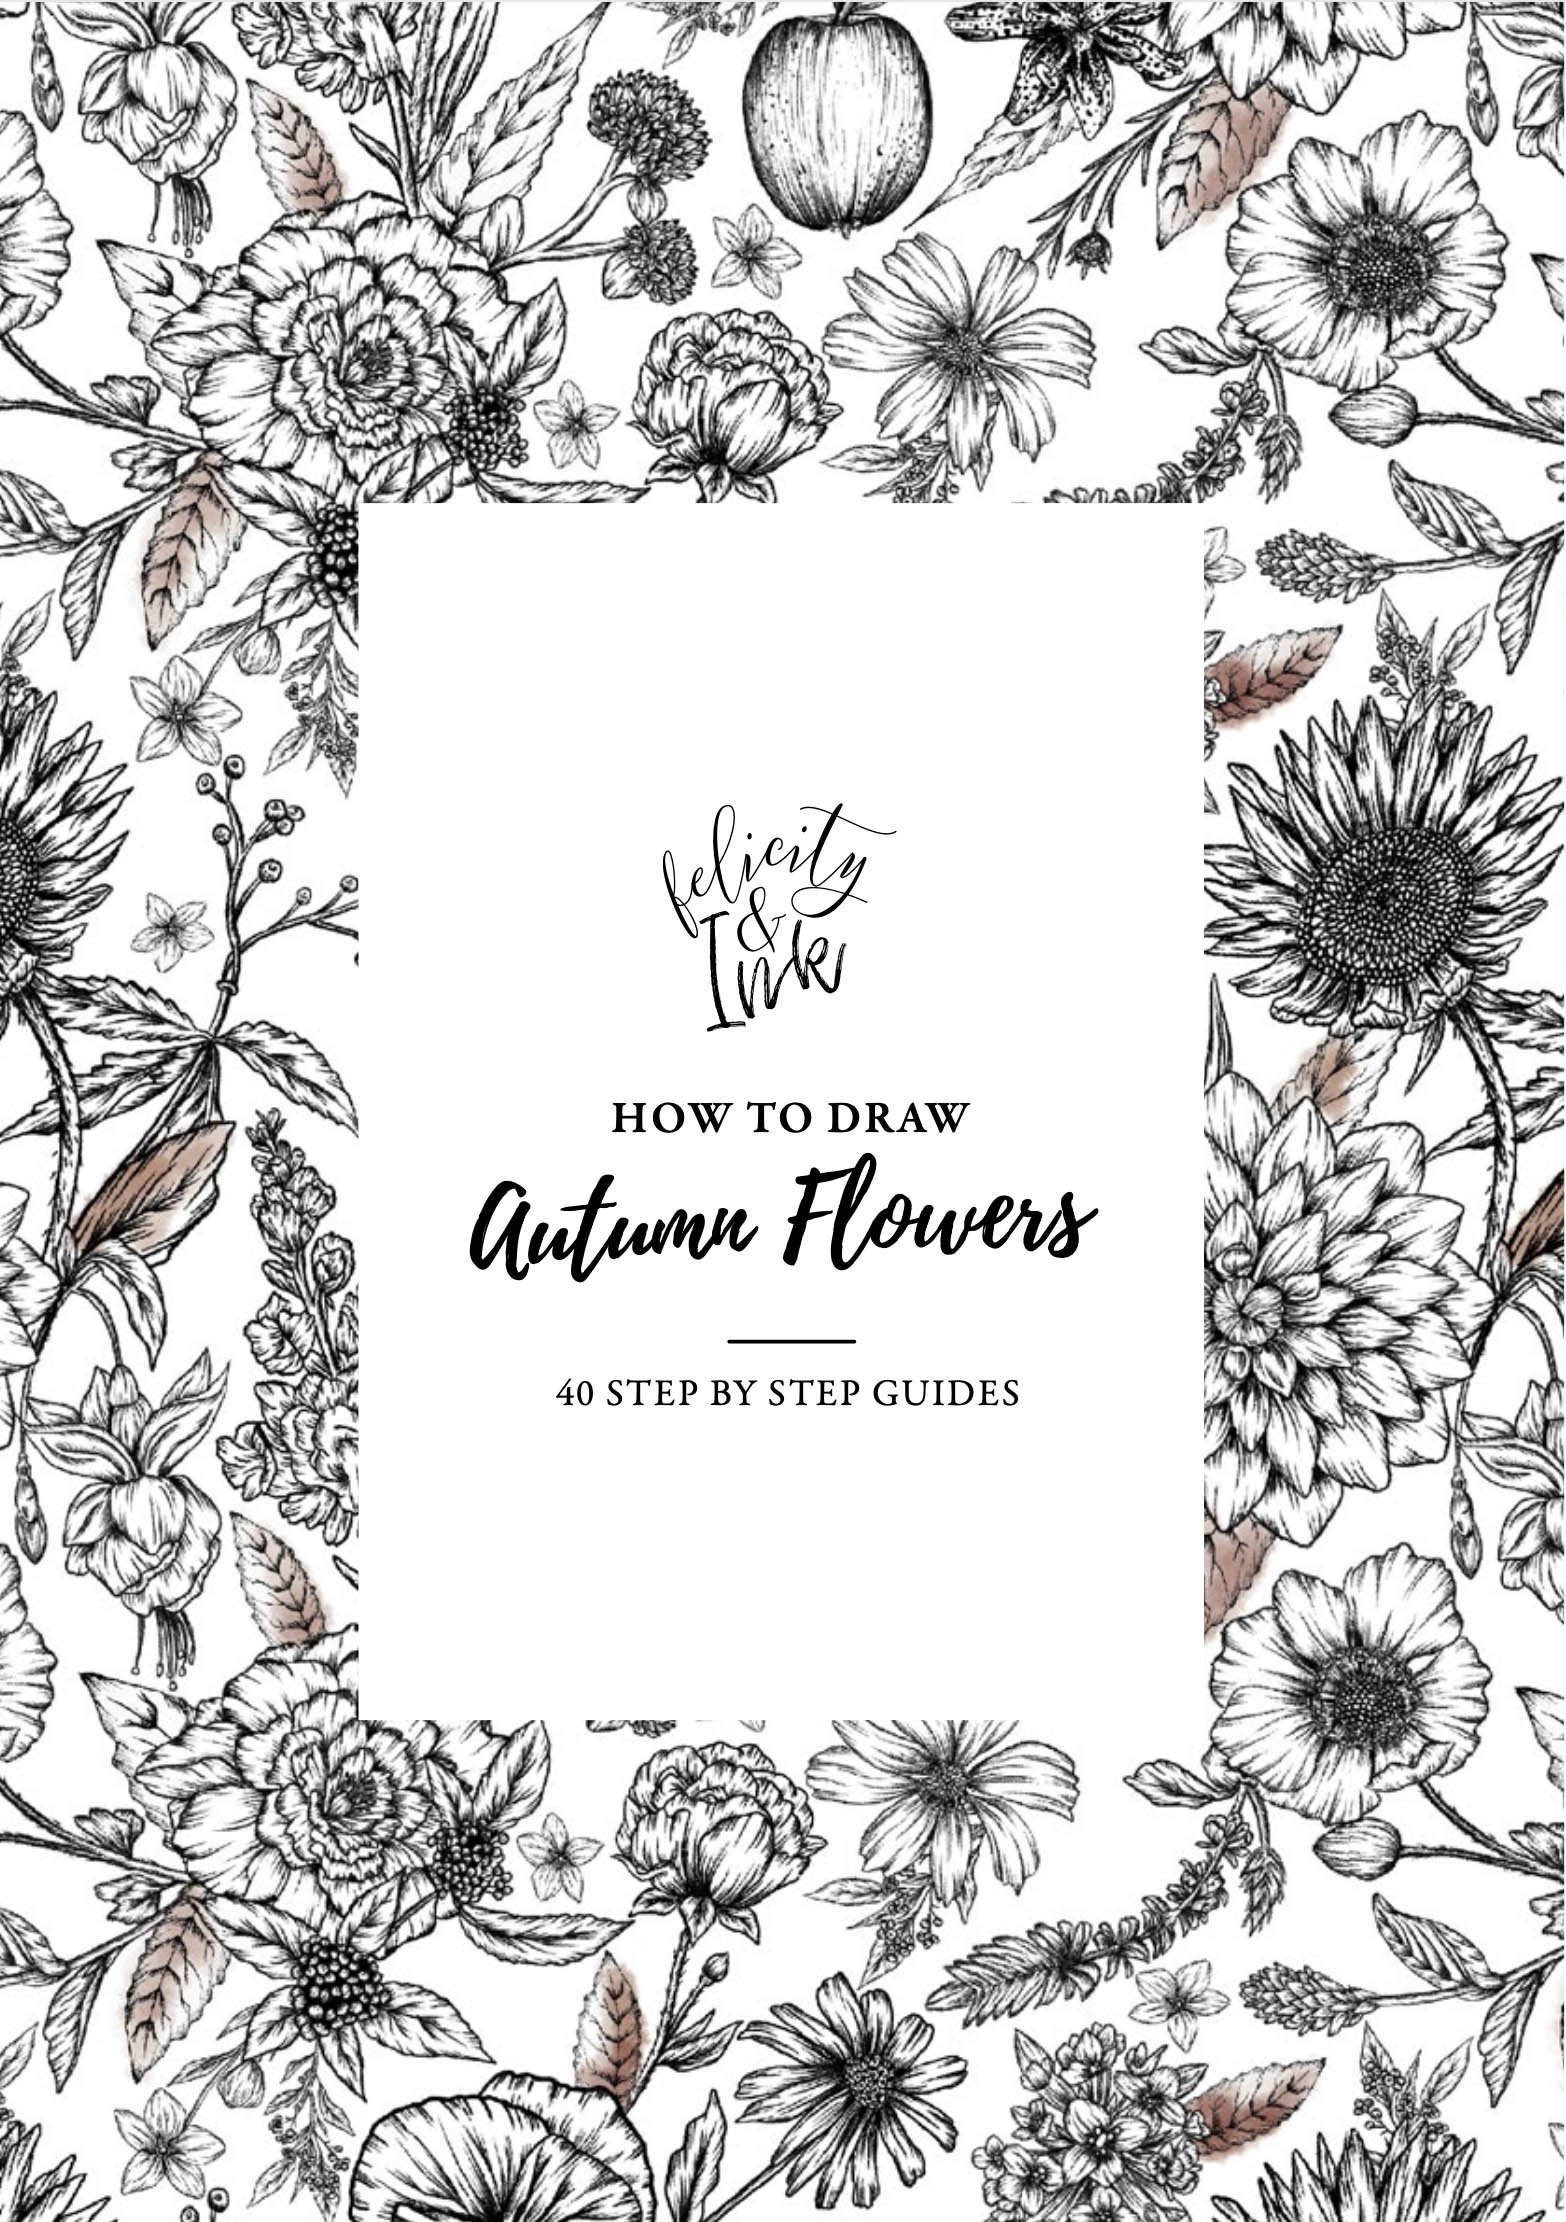
Check out my range of easy to follow, step by step how to draw ebooks, available for instant download from Etsy now!


